Tinkerer’s Tips: How to Convert Your Garage Into a Workshop
2020 has surely been the year of the hobbyist. This year has heralded a myriad of different home improvement projects that don’t just stop at DIY home office jobs. Artists, mechanics, and a range of other tinkerers and innovators have been transforming their sheds and garages into highly personalized and practical workshop spaces.
Here’s all you’ll need to do when transforming your garage into a valuable workshop space!
Step 1: Plan out your space
First and foremost, you’ll need to think about what kind of workshop you’re looking to build. If you’re an artist looking to experiment with paints and other materials, your space will naturally have to be kept quite open for full accessibility. On the opposite end of the spectrum, if you’re working less with canvas and more with firmer materials like timber, you’ll need to plan around your workstation and your more heavy-duty tools, such as your table saw or cordless jigsaw.
It’s vital that you take time to map out your space thoroughly so you can catch any potential hazards well before they become concerns. This means being mindful of any potential leaks, wall outlets, wiring, and if applicable, your garage door system for those of you with electric doors. Be sure to address all hazards and design responsibly around pre-existing fixtures.
Step 2: Clear the clutter
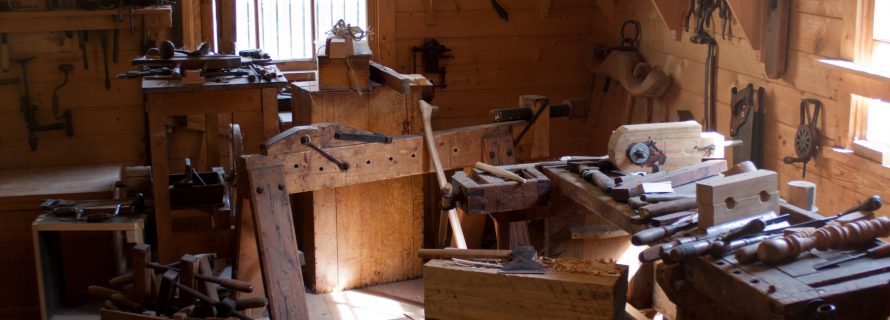
It’s no secret that a lot of the items that occupy our garage space tends to be objects we have little to no use for. Aside from any car maintenance equipment, a lot of the objects that are taking up space in your garage can be easily cleared out. In truth, this decluttering is a key part of your workshop development process, as your ability to clear the space of any superfluous elements will ensure that your finished workshop will be both well-equipped and well-organized.
A good place to start is simply by organizing your clutter into categories, and assessing from there which categories are essential, and which are pointedly inessential. Also, be sure to consider donating any items that you feel may be useful to other users.
Step 3: Add versatile storage
The best way to tackle the age-old question of how to organize your garage storage is simply to retain the ‘organized clutter’ approach from step 2 through to this next step in your workshop development process. Try to store all your car maintenance equipment and other household tools separate from the tools you use in your workshop, just to keep your developed space as contained as possible.
Consider using different storage options for each kind of tool, to simplify your garage organization. For example, you can install open storage like a pegboard above your workbench to keep all your workshop’s tools accessible, and use closed storage like thrifted lockers for all your other tools to ensure that they’re out of sight but still nearby and just as accessible when needed.
Step 4: Build up your workstation
Now that you’ve nailed the compartmentalization of your space, it’s time to finally put the finishing touches on your workstation. Do up your bench with whatever particular tools and desk storage you feel may be useful to you, and feel free to be a little indulgent! Hang some posters or other wall art that you feel may be inspiring. Invest in a whiteboard so that you can brainstorm at the drop of a hat. Install various light sources so that you can feel free to work from different angles, or acoustic foam so that your space can be soundproofed. Just let yourself incorporate whatever elements you think will be most helpful to you.
As you continue with workshop development from this point onwards, it’s important to always keep in mind that this space should be personal and practical. So long as your workshop maintains both of those elements in its design, you’ll be likely to have a beautiful and inspiring DIY home workspace!
About The Author: Claire Wilson. Voted Most Likely to Nap, Claire’s interests lie with pottery and literature with her ultimate passion being low-budget “True Crime” shows. With a background in fashion and advertising, Claire hopes to one day reach her limit in black tee shirts and jeans.
Photo by Adam Patterson on Unsplash
- Additions and New Construction
- All Exteriors
- Alterations
- Basements
- Bathrooms
- Customer Service
- Customer Stories
- Decks
- Design & Planning Show
- DIY
- Doors
- Educational Resources
- Extreme Makeover Home Edition
- Fashion Show
- General Remodeling
- Green Living
- Handyman Home Services
- Home Decor
- Home Entertainment
- Home Improvement
- Home Improvements
- How to Tips
- In The Community
- Kitchens
- Off-the-Wall Remodeling Stories
- Remodeling
- Resources
- Roofing
- Siding
- Social Media
- Sunrooms
- Tips & Tricks
- Trends
- Windows
